
Step by Step tutorials
Vendor Tutorial (Step-by-Step Guide)
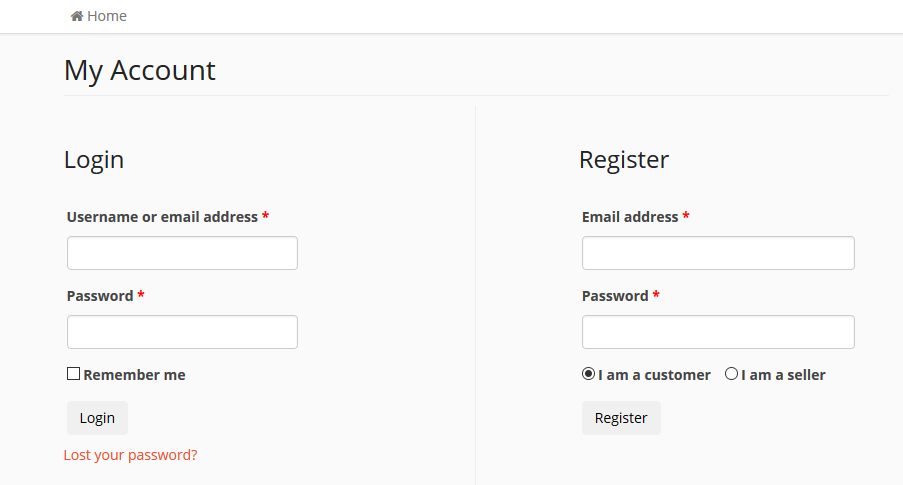
1. Create an Account
- Go to the Sign Up page
- Select “I am a Vendor” option
- Fill in your business details
Next important setting is wizard setup which is optional but important.
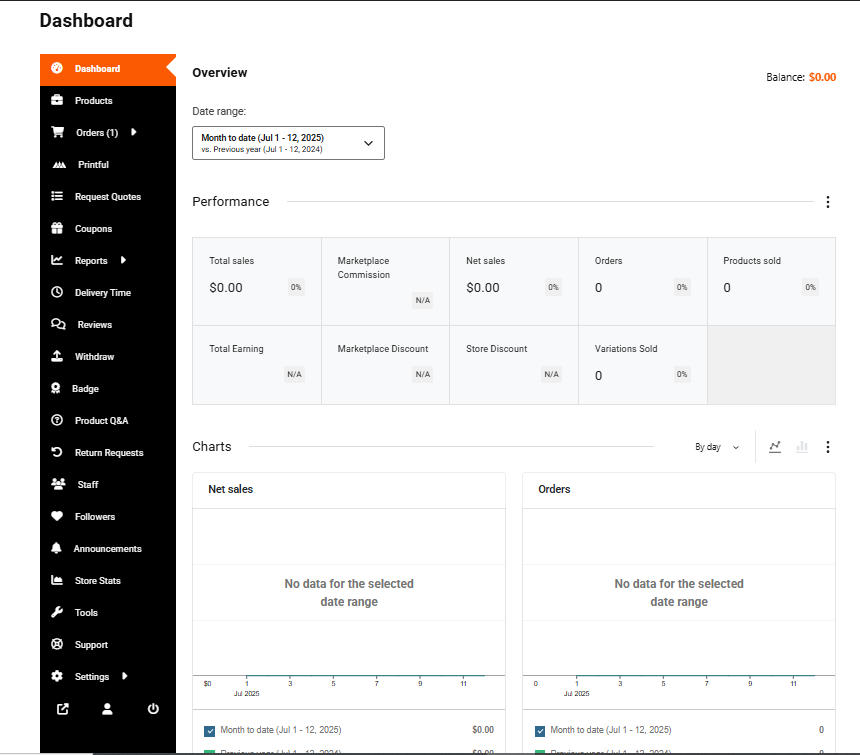
2. Access Your Vendor Dashboard
- Go to My Account > Vendor Dashboard
- Update your store logo, bio, and banner
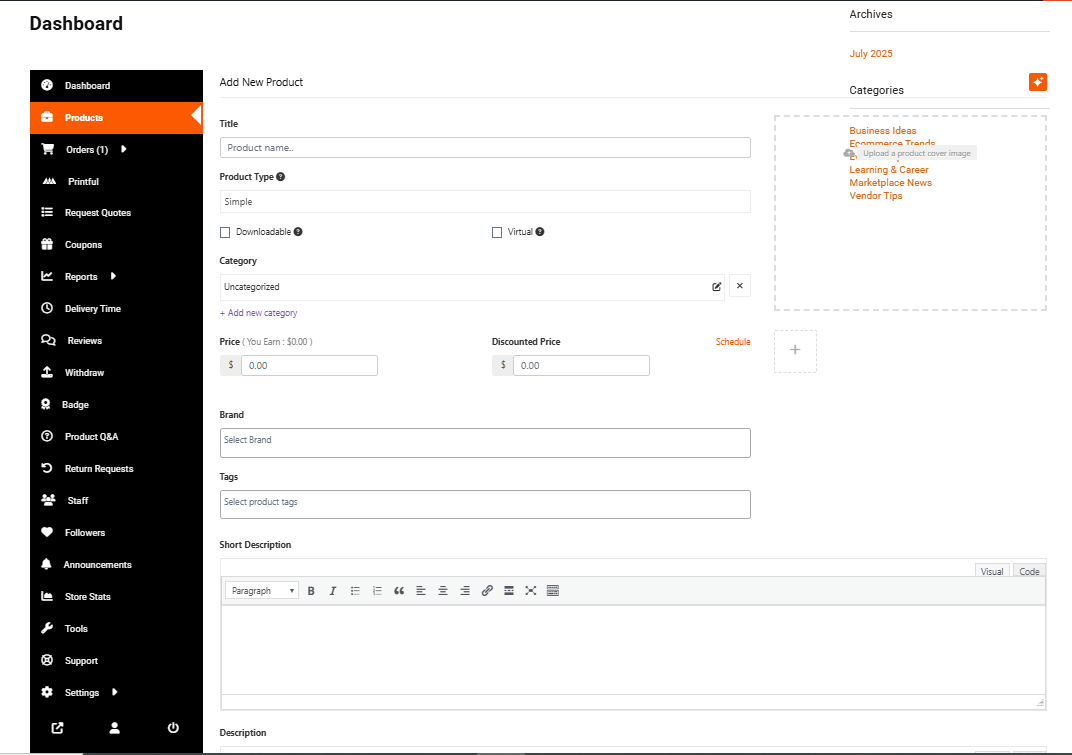
3. Add Your First Product or Service
- Go to Products > Add New
- Fill in details (title, price, description, category, tags)
- Upload product/service images
- Click Submit for Review or Publish (if auto-approval is enabled)
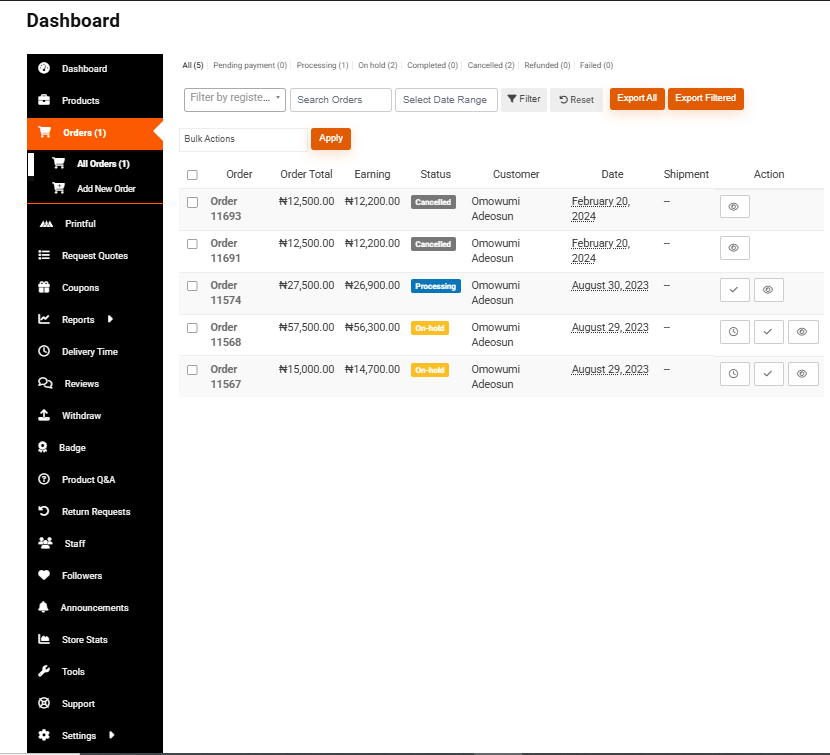
4. Manage Orders & Customers
- Get notified of new orders
- Process, ship or deliver based on service type
- Mark items as fulfilled when done
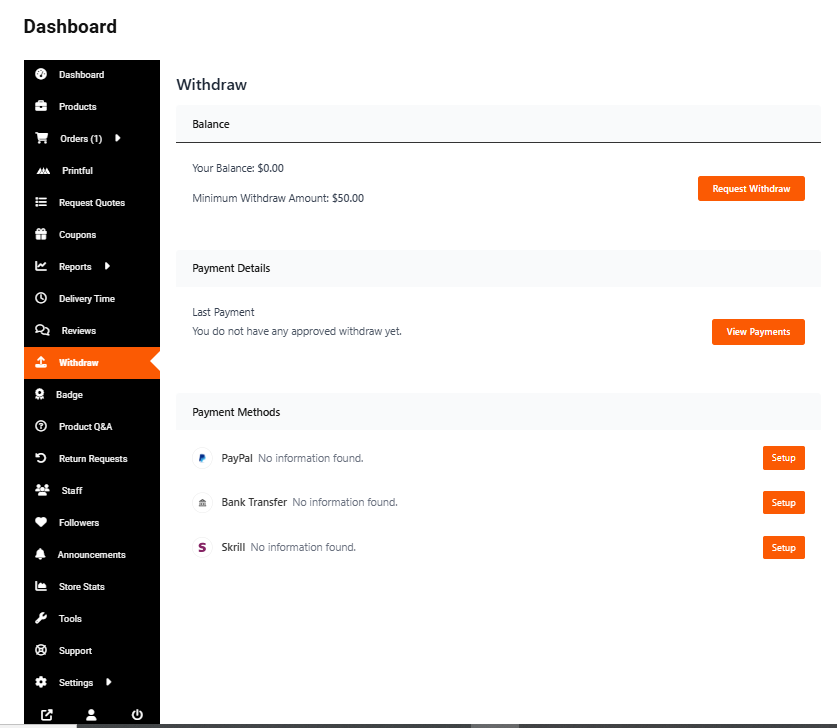
5. Track Earnings & Withdraw
- Check Earnings/Commission in Dashboard
- Withdraw when you meet payout threshold
6. Improve Your Visibility
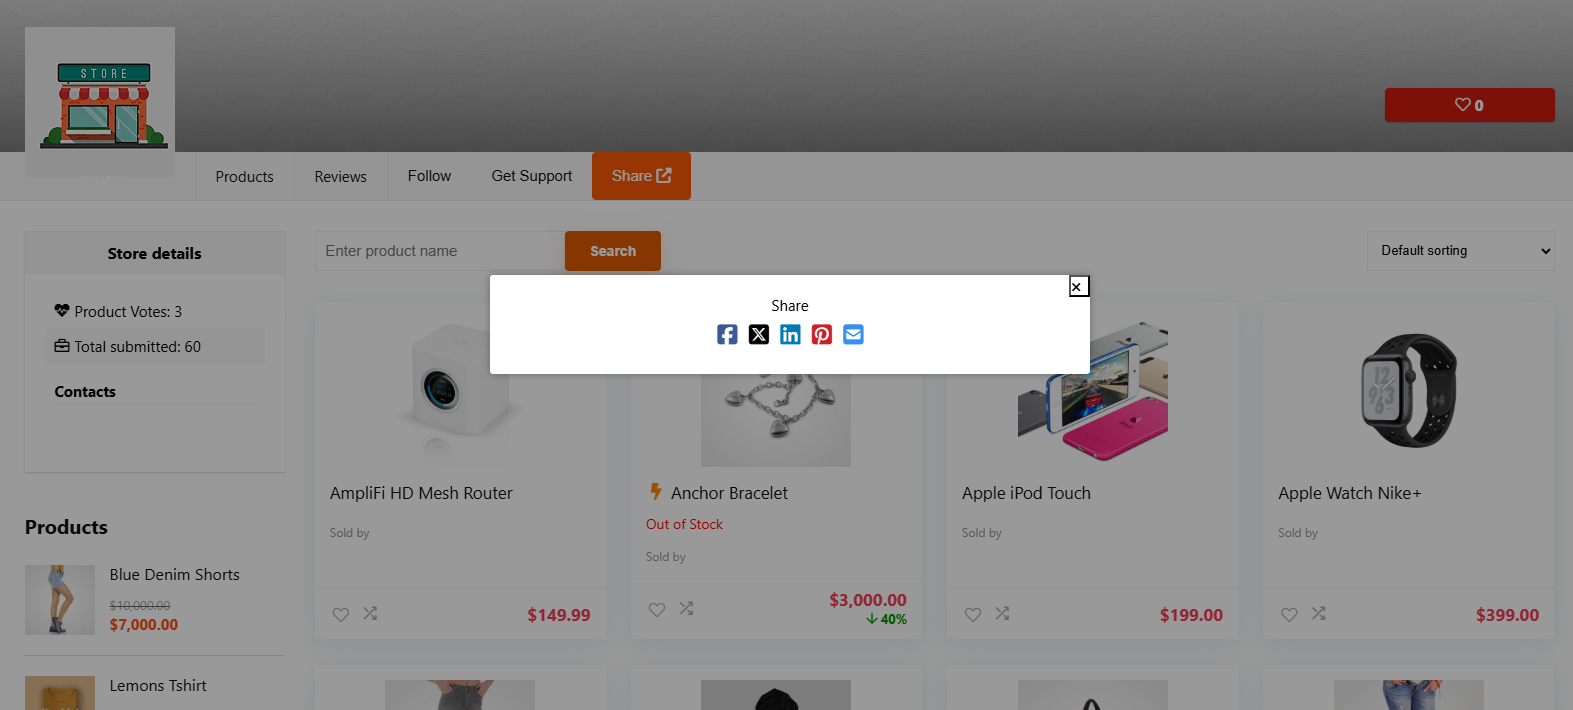
- Share your store link
- Run promotions via blog or featured listings